Deploying SvelteKit with NodeJS to a Server Using Gitlab and PM2
2022/09/26
I recently ported this website from being statically generated with Elderjs to dynamically generated with SvelteKit and a NodeJS adapter. Here's a step-by-step guide on deploying your SvelteKit site to a remote server (in this case Ubuntu 22.04).
Setting up Demo App
If you don't already have a project, you can setup a quick demo using:
npm create svelte@latest my-app
cd my-app
npm install
npm run dev -- --open
There's more info at the SvelteKit site. Don't forget to install the node-adapter and update svelte.config.js as is outlined here
Setting up the Server
Get a VPS from whatever provider you want (I use Hetzner because they're cheap and reliable. That's my referral link). Install whatever server image you want (if you use Ubuntu 22.04, you'll be able to copy and paste all of the commands in this tutorial). Get your IP address and SSH into the server. You'll also want to setup an A type DNS record to point your domain to this new IP address (if you have a domain). No worries if not, you'll just be able to see the page by typing your IP address into the address bar.
ssh root@IP_ADDRESSCreating Users
Create two users, one for deploying and one for using around the server (change USERNAME to whatever you want, and use that for the rest of the tutorial wherever you see USERNAME).
adduser deployeradduser USERNAMEFrom a security perspective, you want to generate unique SSH keys for each user. Run the following twice on your LOCAL machine to generate two separate SSH keys.
ssh-keygen -b 521 -t ECDSAThe ECDSA is now preferred over the RSA algorithm for generating the keys.
Now on the server, add the keys to each user.
usermod -aG sudo deployer
sudo su deployer
mkdir -p ~/.ssh && touch ~/.ssh/authorized_keys && chmod -R go= ~/.ssh
vim ~/.ssh/authorized_keys
Copy and paste one of the PUBLIC versions (.pub) of the keys you just generated into the file and save it. Type exit like below to sign out.
exitusermod -aG sudo USERNAME
sudo su USERNAME
mkdir -p ~/.ssh && touch ~/.ssh/authorized_keys && chmod -R go= ~/.ssh
vim ~/.ssh/authorized_keysCopy and paste the second key's PUBLIC version (.pub) into the file and save it. You can now type exit to go back to root, then sign out and SSH back in using this user (ssh -i ~/.ssh/path/to/id_ecdsa USERNAME@IP_ADDRESS), or you can do the rest of the tutorial as root, in which case you won't have to add sudo to the front of every command.
Downloading Necessary Dependencies
Run updates
sudo apt update && sudo apt upgradeRestart the system if you need to after upgrading
sudo systemctl rebootSSH back in the same way as before.
Node Verion Management with n (nodejs + npm)
Install n for managing different version of NodeJS.
curl -L https://raw.githubusercontent.com/tj/n/master/bin/n -o n
bash n lts
# Now node and npm are available
npm install -g n
You'll now have access to NodeJS and NPM.
NGINX
NGINX is going to be used for reverse proxying the incoming requests.
sudo apt install nginxPostgres (optional)
If you're going to use Postgres, follow this to set it up and create a PG superuser for yourself.
sudo apt install postgresql postgresql-contrib
sudo su postgres
createuser --interactive
then make a DB for your user, replacing username with your chosen username.
createdb USERNAME
exit
Download PM2
Install PM2 globally using
npm install pm2 -gSetting up Gitlab
All you need to do to have Gitlab deploy the project for you is make a .gitlab-ci.yml file, have runners enabled, and generate a new ECDSA id, which you'll add to your project's CI/CD variables. First generate the key with the same command as before, on your LOCAL machine.
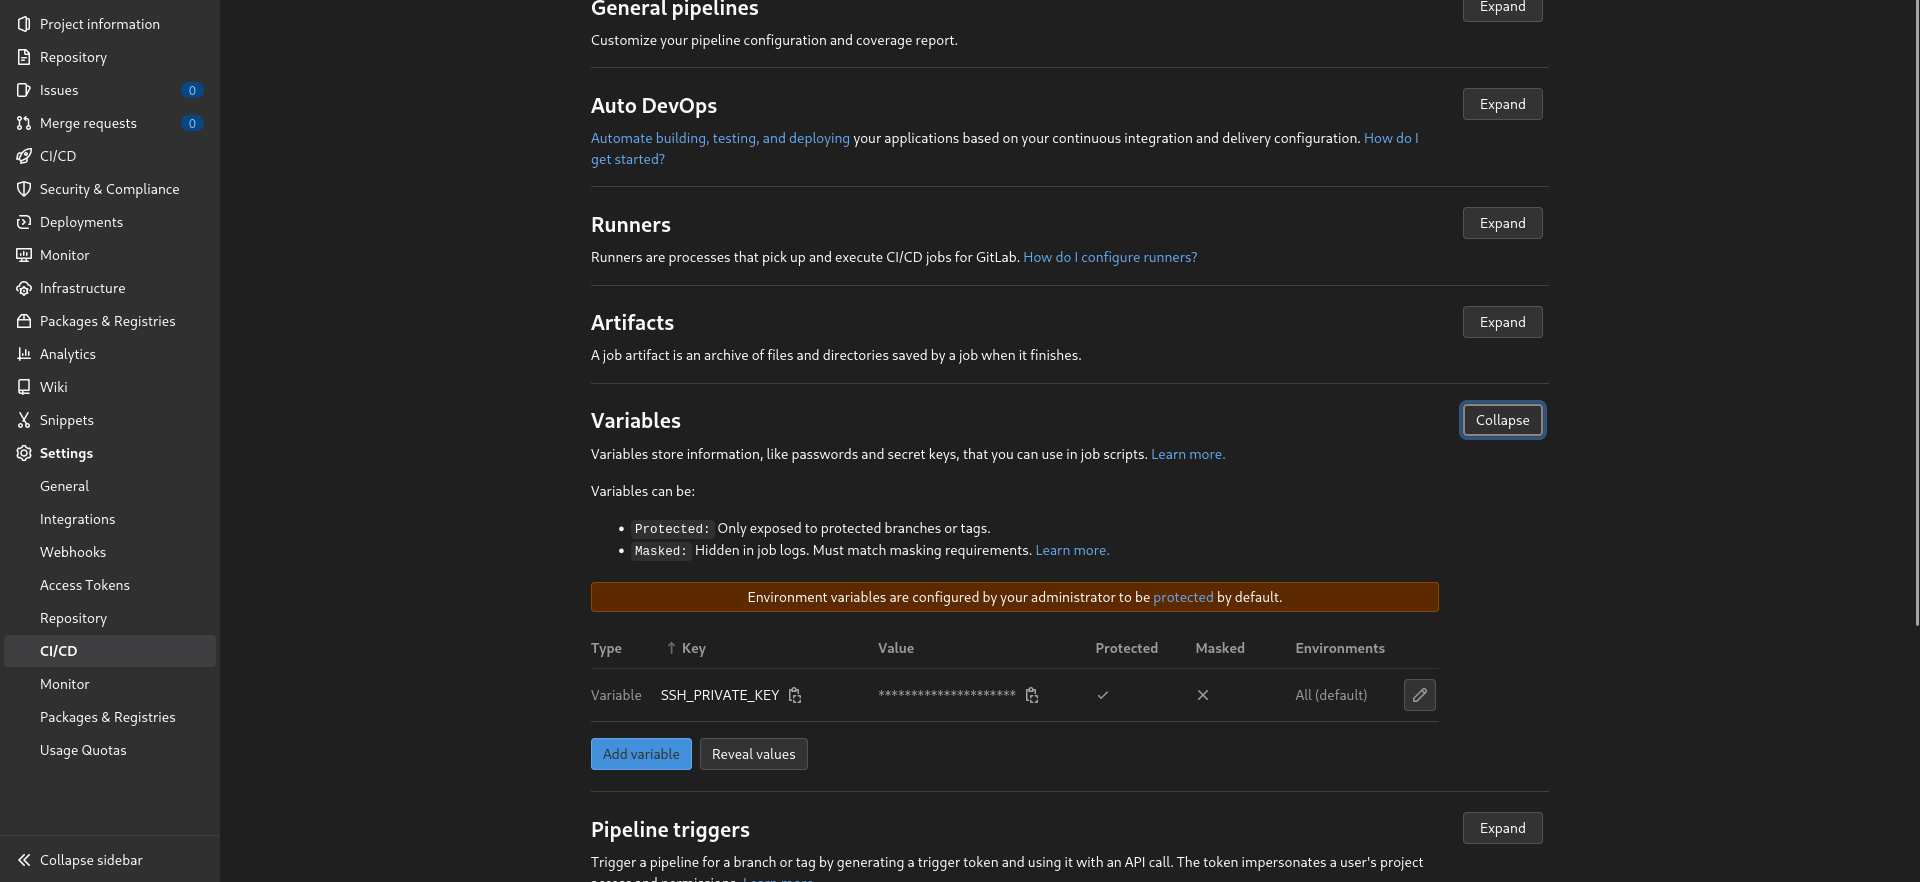
ssh-keygen -b 521 -t ECDSACopy the PRIVATE version of the key (NOT .pub), to a variable called SSH_PRIVATE_KEY in your Gitlab project's Settings -> CI/CD -> Variables -> Add Variable -> Key: SSH_PRIVATE_KEY, Value: paste in the key's contents.
Once you've done that, SSH into your server as the deployer user
ssh -i ~/.ssh/path/to/deployer/private/key deployer@IP_ADDRESSAnd add the public version (.pub) of the SSH key you just generated for Gitlab to the ~/.ssh/authorized_keys file.
Now add a file called .gitlab-ci.yml to you project repo and copy in the contents below. You don't need to change anything in it, but make sure your Gitlab runners are running on Docker.
# This file is a template, and might need editing before it works on your project.
# Official framework image. Look for the different tagged releases at:
# https://hub.docker.com/r/library/node/tags/
image: node:18-alpine

stages:
  - deploy

deploy:
  stage: deploy
  before_script:
    # Install ssh-agent if not already installed, it is required by Docker.
    # (change apt-get to yum if you use a CentOS-based image)
    - 'which ssh-agent || ( apk add --update openssh )'

    # Add bash
    - apk add --update bash

    # Add git
    - apk add --update git

    # Run ssh-agent (inside the build environment)
    - eval $(ssh-agent -s)

    # Add the SSH key stored in SSH_PRIVATE_KEY variable to the agent store
    - echo "$SSH_PRIVATE_KEY" | ssh-add -

    # For Docker builds disable host key checking. Be aware that by adding that
    # you are suspectible to man-in-the-middle attacks.
    # WARNING: Use this only with the Docker executor, if you use it with shell
    # you will overwrite your user's SSH config.
    - mkdir -p ~/.ssh
    - '[[ -f /.dockerenv ]] && echo -e "Host *
	StrictHostKeyChecking no

" > ~/.ssh/config'
    # In order to properly check the server's host key, assuming you created the
    # SSH_SERVER_HOSTKEYS variable previously, uncomment the following two lines
    # instead.
    # - mkdir -p ~/.ssh
    # - '[[ -f /.dockerenv ]] && echo "$SSH_SERVER_HOSTKEYS" > ~/.ssh/known_hosts'
  script:
  - npm i -g pm2
  - pm2 deploy ecosystem.config.js production
  only:
  - main
Setting up PM2
For PM2 to work, you'll need to add an ecosystem.config.js file in your project repo and copy in the content below. If you're using TypeScript, you can use an ecosystem.config.cjs file since it uses module.exports instead of the ESM export default standard.
module.exports = {
	/**
	 * Application configuration section
	 * http://pm2.keymetrics.io/docs/usage/application-declaration/
	 */
	apps: [
		// First application
		{
			name: 'website.com', // name of the process in PM2
			script: 'build/index.js',
			env_production: {
				NODE_ENV: 'production',
				PORT: 5173 // port the app will be launched on
			}
		}
	],

	/**
	 * Deployment section
	 * http://pm2.keymetrics.io/docs/usage/deployment/
	 */
	deploy: {
		production: {
			user: 'deployer', // deployer user
			host: 'IP_ADDRESS', // IP address of your server
			ref: 'origin/main', // the branch you want to deploy
			repo: '[email protected]', // the ssh git clone URL
			path: '/var/www/website.com/', // the path where you want the project to be
			// code you want to run after the project has been pushed to your server
			'post-deploy':
				'npm install && npm run build && pm2 reload ecosystem.config.js --env production'
		}
	}
};
In apps change the name of app and PORT in env_production to whatever you want. This will be the port your node server will be deployed on. Just make sure it's free and make a note of it, because you'll need it for the NGINX config later.
In deploy, change the host to your server's IP address, ref to whatever branch you're using (main or master normally), edit the repo URL to match your repo URL on Gitlab (you can just copy the same URL you use when you clone the repo using SSH), and adjust the path to your website's name. You can also adjust the post-deploy scripts, but what is currently there should work for SvelteKit with the node adapter.
Now SSH into your server using the deployer user
ssh -i ~/.ssh/path/to/deployer/key deployer@IP_ADDRESSMake a folder in your home directory called whatever you want the website to be called
mkdir ~/website.comThen move it over to /var/www/ using sudo
sudo mv ~/website.com /var/www/Now you have a folder you can deploy into as the deployer user. The destination path should be the same as what you have for path in your ecosystem.config.js file.
On your LOCAL machine, make sure you have pm2 installed (preferably with your package manager), or run the following to install it globally using npm
npm install pm2 -gIn the project repo on your LOCAL machine, now you can run:
pm2 deploy ecosystem.config.js production setupIt should setup the repo in /var/www/website.com on your remote server. Now you can also deploy from Gitlab by pushing a commit and watching it automatically deploy in the CI/CD jobs section.
NGINX Config
To setup NGINX on your server, you'll need to make a config file for the website, enable it, check it, and restart NGINX. SSH into your server, make the file, and change website.com to whatever domain you want.
sudo touch /etc/nginx/sites-available/website.com
sudo vim /etc/nginx/sites-available/website.com
Then copy the config below into the file. Be sure to change any intance of website.com to your domain and/or the port in proxy_redirect to whatever port you want your app to run on (same as in your ecosystem.config.js file).
server {

        access_log /var/log/nginx/website.access.log;
        error_log /var/log/nginx/website.error.log debug;


        server_name website.com www.website.com;

        location / {
                proxy_redirect http://localhost:5173/ https://$server_name/;
                proxy_pass http://localhost:5173;
                proxy_cache_bypass $http_upgrade;
                proxy_set_header Upgrade $http_upgrade;
                proxy_set_header Connection 'upgrade';

               	include proxy_params;
        }
 }
You can see at the top what files NGINX logs will go to. These are useful for debugging potential issues you might run into. Now link that config file to sites-enabled.
sudo ln -s /etc/nginx/sites-available/website.com /etc/nginx/sites-enabled/Check the config and restart NGINX.
sudo nginx -t
sudo systemctl restart nginx
NGINX should now be serving your project or demo app on your domain and you can check by navigating to it in your browser.
HTTPS Setup (optional)
If you want to setup HTTPS support for your domain, you can use Let's Encrypt by running the commands below one by one to install the required dependencies, then register the domains.
sudo apt install snapd
sudo snap install snap-store


sudo snap install core
sudo snap refresh core
sudo apt remove certbot

sudo snap install --classic certbot
sudo ln -s /snap/bin/certbot /usr/bin/certbot

sudo certbot --nginx -d website.com -d www.website.com

sudo systemctl status snap.certbot.renew.service

sudo certbot renew --dry-run
Now you should have HTTPS setup too!